Introduction to WebRTC with sockets
By Gyanendra Knojiya
WebRTC is... well, everywhere. WebRTC (Web Real-Time Communication) is a technology that enables Web browsers to stream audio or video media and communicates relevant data across browsers, mobile platforms, and IoT devices without the need for an intermediary such as a server.
WebRTC was first introduced in 2011 by google, and it has grown in popularity over the years. WebRTC is used in apps like Facebook, Google, Amazon, and many other firms to enable quick, dependable, and secure communication.
WebRTC is a fantastic technology that enables communication without the need for any additional installation or plug-ins. WebRTC encourages the exchange of data from two independent sources because of its low latency. All browsers largely support this open-source protocol.
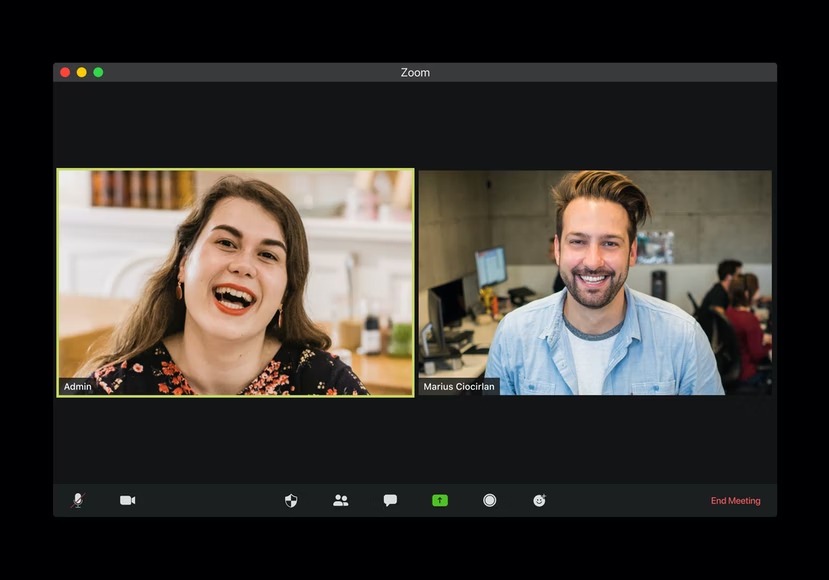
WebRTC enabled remote peer-to-peer connections via audio and video chats to make distant corporate and cultural functioning easier. It is today one of the most significant instruments for communication and data sharing. Have you ever wondered how virtual interactions work using WebRTC? Let us clarify.
API's Primary Components:
WebRTC has various crucial JavaScript API components that can assist you in developing amazing P2P apps.
getUserMedia uses your device's camera and microphone to retrieve the audio and video available on your device.
MediaRecorder captures audio and video from your device.
Peer-to-peer audio and video communication is supported through RTCPeerConnection. This comprises establishing the connection, monitoring it, and terminating it.
RTCDataChannel allows bidirectional data transfers between two peers.
Is WebRTC safe?
While adopting WebRTC may not guarantee complete security, it helps eliminate typical vulnerabilities such as insufficient encryption. Because WebRTC is a public standard and framework, it has undergone far more testing than many other proprietary protocols. Many businesses employ it because it is based on tried-and-true standards, is authored by industry professionals, and has been used in commercial goods for years.
The use of correct, secure protocols is a major security problem for developers when adopting WebRTC. Signaling mechanisms, or ways for exchanging metadata, are not described in WebRTC and must be implemented by you. This provides you the freedom to design your app in the way that best suits your needs.
Let’s build a simple video calling APP using webRTC:
Requirements:
We will employ the following:
- Node.js — JS Runtime Environment
- Socket.IO — for WebRTC signaling
- BackEnd Framework Express.Js
For the backend, we will utilize Node.js and the Express.js Framework.
- ### Create a node project:
If you don’t have node.js installed on your system, visit https://nodejs.dev/ and download the LTS version available for your system and install it.
Now, create a folder and open your terminal here. To create your project, run npm init.

Enter your project configuration details. This creates a package.json file at the root of your project.
- ### Install packages:
We need to install our project dependencies which are Express.js, Socket.io and PeerJS.
Run in the terminal-
1
npm i express socket.io peer
- ### Create an express server:
We need to create an index.js file which is a starting point for our app by default. We also need to create a public (for static files) and views (contain view files for frontend) folder.
For our backend, we must now initialize Express, the HTTP server, and Socket.io. To accomplish this, enter the following code into the index.js file located at the project's root level-
1
2
3
4
5
6
7
8
9
10
11
12
13
14
15
16
17
18
19
20
21
22
23
24
25
26
27
28
29
const express = require('express');
const { ExpressPeerServer } = require('peer');
const app = express();

const httpServer = require('http').createServer(app);
const io = require('socket.io')(httpServer, {
  cors: {
    origin: '*',
  },
});
app.set('view engine', 'ejs');
app.use(express.static('public'));
const peerServer = ExpressPeerServer(httpServer, {
  debug: true,
});
app.use('/peerjs', peerServer);
app.get('/', (req, res) => {
  return res.render('index');
});

io.on('connection', (socket) => {
  socket.on('video-join', (userId) => {
    socket.join('room');
    io.to('room').emit('connect-user', userId);
  });
});

const PORT = process.env.PORT || 3000;
httpServer.listen(PORT, () => console.log(`App is listening on ${PORT}`));
- ### Create View:
Now, we need to create a view that is index.ejs. Here, we will add two video elements - one for local video and the other for remote video.
We also need to import socket.io and peer.js. We can import socket.io from node modules and for peer.js, we can use a CDN.
We will define JavaScipt for the front-end in public/script.js. We need to import this file as well.
We can also add our CSS in public/index.css for styling purposes.
1
2
3
4
5
6
7
8
9
10
11
12
13
14
<!DOCTYPE html>
<html lang="en">
  <head>
    <title>Document</title>
    <script src="/socket.io/socket.io.js"></script>
    <script src="https://unpkg.com/peerjs@1.4.5/dist/peerjs.min.js"></script>
  </head>
  <body>
    <div>
      <div id="video-container"></div>
    </div>
    <script src="script.js"></script>
  </body>
</html>
- ### Adding script:
In script.js file, we need to write call and answering methods of peer.js and add local and remote video streams in video elements.
To get a local video stream from the webcam, we can use navigator.getUserMedia.This stream will be assigned to the local video element. After adding this, we can see the video stream on our browser.
1
2
3
4
5
6
7
8
9
10
11
12
13
14
15
16
17
18
19
20
21
22
23
24
25
26
27
28
29
30
31
32
33
34
35
36
37
38
39
40
41
42
43
44
45
46
47
48
49
50
51
52
53
54
55
56
57
58
59
60
61
62
63
64
65
66
const socket = io('/');
const peer = new Peer();
var localUserId = '';
var videosAry = [];
const getUserMedia =
  navigator.getUserMedia ||
  navigator.webkitGetUserMedia ||
  navigator.mozGetUserMedia;

getUserMedia({ video: true, audio: true }, function (stream) {
  newVideo(stream);
});

socket.on('connect-user', (userId) => {
  if (localUserId === userId) return;
  peer.connect(userId);
  getUserMedia(
    { video: true, audio: true },
    function (stream) {
      var call = peer.call(userId, stream);
      call.on('stream', function (remoteStream) {
        newVideo(remoteStream);
      });
    },

    function (err) {
      console.log('Failed to get local stream', err);
    }
  );
});

peer.on('connection', function (con) {
  peer.on('call', function (call) {
    getUserMedia(
      { video: true, audio: true },
      function (stream) {
        call.answer(stream);
        call.on('stream', function (remoteStream) {
          newVideo(remoteStream);
        });
      },

      function (err) {
        console.log('Failed to get local stream', err);
      }
    );
  });
});

peer.on('open', (id) => {
  localUserId = id;
  socket.emit('video-join', id);
});

const newVideo = (stream) => {
  const video = document.createElement('video');
  const videoContainer = document.getElementById('video-container');
  if (videosAry.includes(stream.id)) return;
  video.srcObject = stream;
  video.id = stream.id;
  videosAry.push(stream.id);
  video.addEventListener('loadedmetadata', () => {
    video.play();
    videoContainer.append(video);
  });
};
Conclusion:
Here, we are done with a simple webRTC project. You can deploy this project and use it for real-time video calling. We have not implemented any video and audio optimization, so may get a poor connection. You can implement authentication to secure your connection.
Thank you for reading this post. I hope you find it useful. You can find the complete code here: github link